
Before the event
Choose how the screen looks
In Studio, open the gallery and go to Live screen. Pick a Story Wall (a slowly scrolling wall of photos) or one photo at a time, and choose what shows on screen: guests’ names, captions, the QR code poster that invites more guests to join, and more. The preview shows how it will look.
Create the controller link
On the same page, choose Create controller link. Whoever runs the screens on the day only needs this link: the venue, a DJ, the couple or you. If you’ve added your client’s email in Share, you can email it to them with step-by-step instructions.
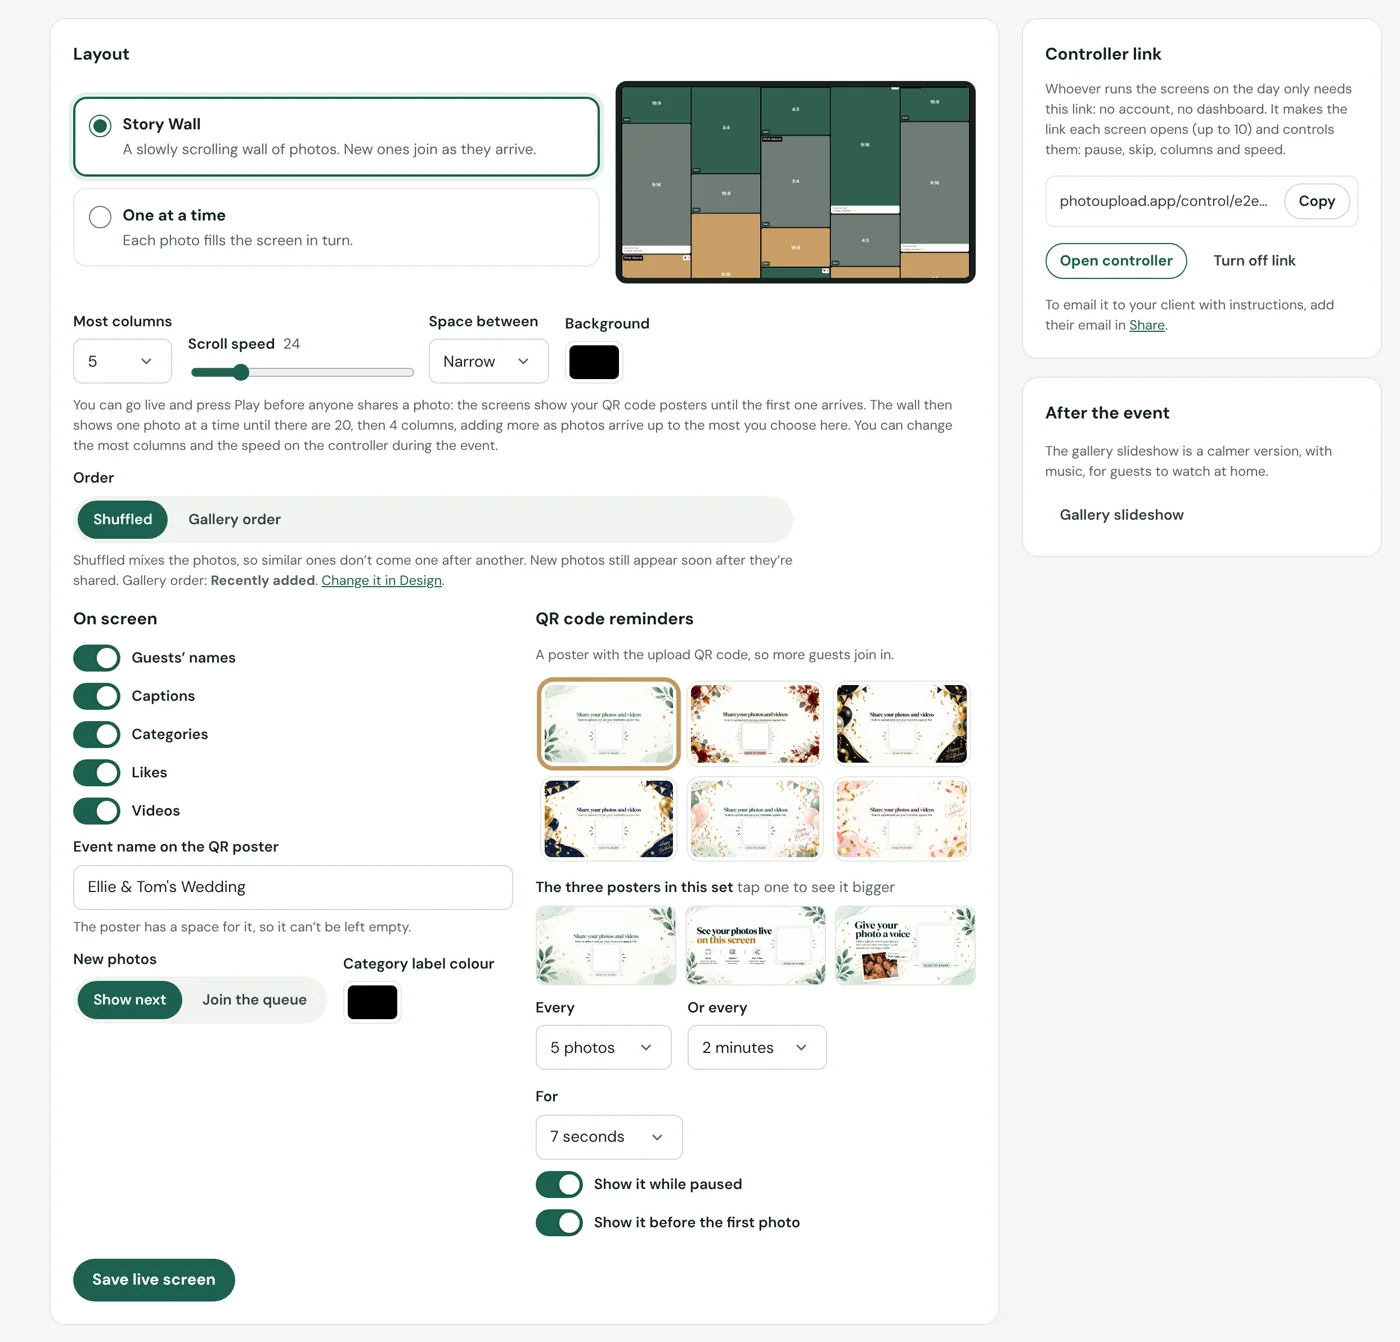
Studio → gallery → Live screen: the look of the screen, and the Controller link on the right.
On the day
Open the controller and start the session
Open the controller link on a phone. If you’re using more than one screen (up to 10), choose All show the same (columns, speed and QR posters match on every screen, and a change on one changes them all) or Each runs on its own (each screen keeps its own columns, speed and QR poster timing). Either way, Play and Pause on the controller work on every screen, and you can switch later from Screens on the controller without adding the screens again. Choose when the screens start: Play now, or Get ready, play later. Then choose Start live session.
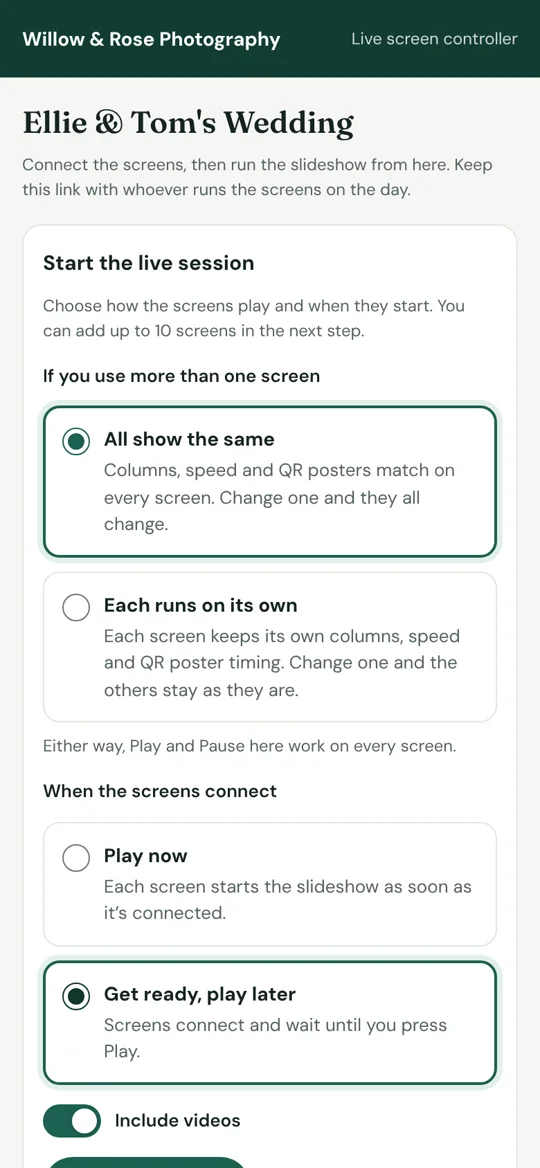
The controller before the session starts. Connect each screen with its code
On the TV, projector or laptop, open slidelink.app in the browser. It shows a six-digit code. Type the code into Add a screen on the controller and the screen connects straight away. On a laptop or tablet you can open a link instead. Using a Fire TV Stick? Set its screensaver to never start before the event, or it can show its own screensaver, with adverts, while the slideshow is paused.
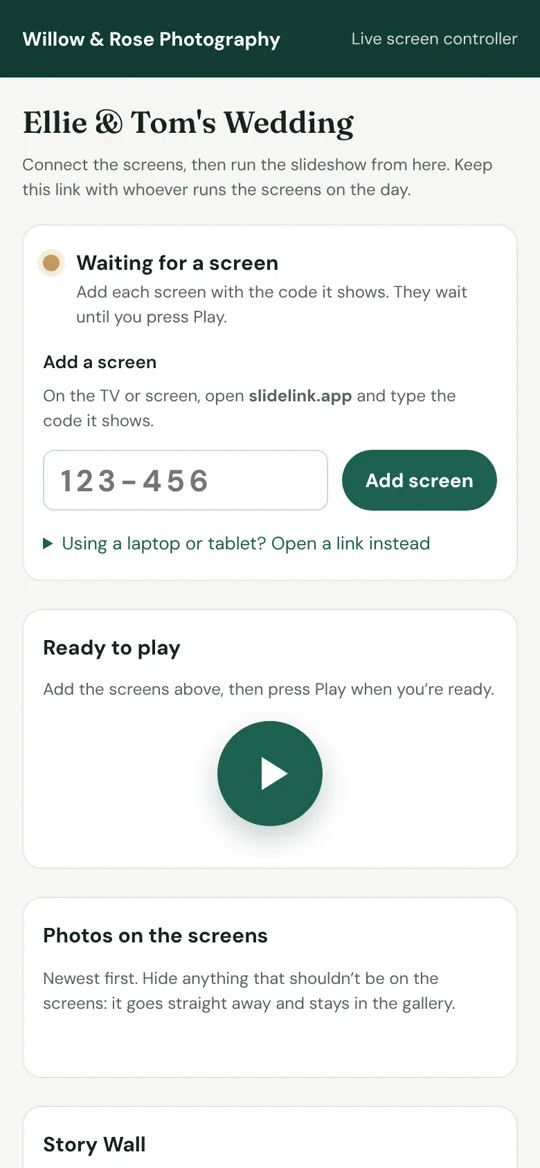
Add each screen with the code it shows, then press Play. Press Play when you’re ready
With Get ready, play later, connected screens wait, showing Starting soon, until you press Play on the controller. With several screens, one press starts them all, and Pause pauses them all. With Play now, each screen starts as soon as it’s connected.
Run it from your phone
Play, pause, skip and start again from the controller. You can change the order (Shuffled or Gallery order), speed, columns, captions and QR code reminders while it runs, and the screens follow straight away.
Take a photo off the screens
In Photos on the screens, the newest come first. Choose Hide and it disappears from every screen at once, but stays in the gallery. Show again puts it back. Guests’ messages have their own list underneath.
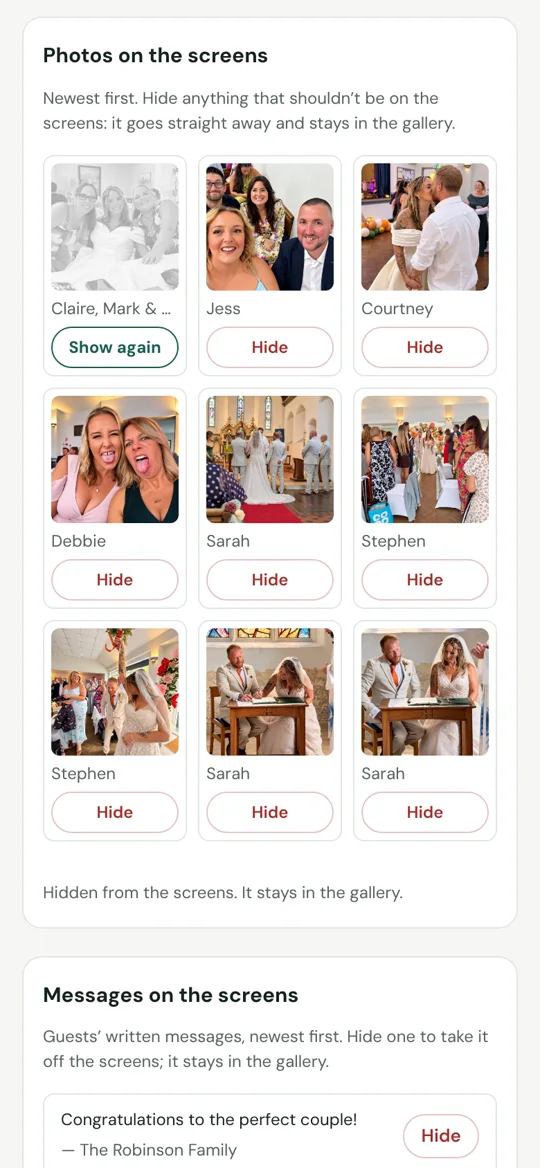
Photos on the screens: Hide takes one off every screen straight away.
Checking photos first? With Approve before showing on, the controller shows what’s waiting for approval instead, so nothing reaches the screens until someone approves it.
Start before anyone shares a photo
You can start the live session with Play now before the first upload, for example while guests are arriving. Or choose Get ready, play later, connect the screens, and press Play when you want it to start. Once it’s playing, the screens look after themselves, so nobody needs to change anything as the photos come in.
Before the first photo: QR code posters
After you press Play, the screens show your QR code posters, changing slowly every 30 seconds, so guests can scan and start sharing. You can turn this off in Live screen → Show it before the first photo.
The first photos: one at a time
On a Story Wall, the first photos show one at a time, full screen, until there are 20. A handful of photos never looks sparse.
Then the wall grows
At 20 photos the screen becomes a Story Wall of 4 columns, and adds columns as more arrive: 5 at 40 photos, 6 at 50, 7 at 60 and 8 at 70. It stops at the number of columns you chose, so if you chose 6, it stays at 6.
Good to know
- No sound. The live screen plays without music or video sound, so it never talks over your event’s music, speeches or DJ. Videos play silently.
- Up to 10 screens in one session.
- Screens keep going on a weak connection. They carry on with the photos they have and catch up when the signal returns.
- End live session at the bottom of the controller stops every screen. Each then shows a new code, ready for next time.
- Turning off the controller link in Studio stops anyone using it, and its screens stop too.